Welcome to our latest blog post where we provide a step-by-step guide for landlords and property managers in Brampton, Ontario, on how to set up water billing for their tenants. Ensuring your water billing is set up correctly can save you time and prevent any misunderstandings with tenants. Here’s how you can streamline this process effectively.
Step 1: Understand Brampton’s Water Billing System
In Brampton, water billing is managed by the Region of Peel. As a landlord, you must first understand whether you will pass the water billing responsibilities directly to your tenants or if you will pay the bills and recover the costs through rent. This decision might depend on the rental agreement terms and the setup of water meters in your property.
Step 2: Decide on Billing Method
You have two primary options for managing water billing:
- Direct Billing: Tenants receive the bill directly from the Region of Peel and are responsible for payment.
- Landlord Billing: The landlord receives the bill and recoups the costs through rent or a separate utility payment from the tenant.
Consider which method suits your management style and legal agreements with tenants.
Step 3: Setting Up Tenant Accounts
If you opt for direct billing, you’ll need to set up each tenant with an account with the Region of Peel. Here’s how to do it:
- Contact the Region of Peel: Inform them that you wish to set up a new account in the name of your tenant. You can contact them via their website or customer service number. You can also fill online form to initiate the process. This could be initiated either by landlord or tenant https://peelregion.ca/water/water-billing/billing-landlords-tenants
- Provide Necessary Information: You will need to provide details such as the tenant’s full name, lease start date, and the service address.
- Signing: Region of Peel will send the document in the email for signing
- Confirmation: Once the account is set up, ensure that both you and your tenant receive confirmation. This helps avoid any future discrepancies.
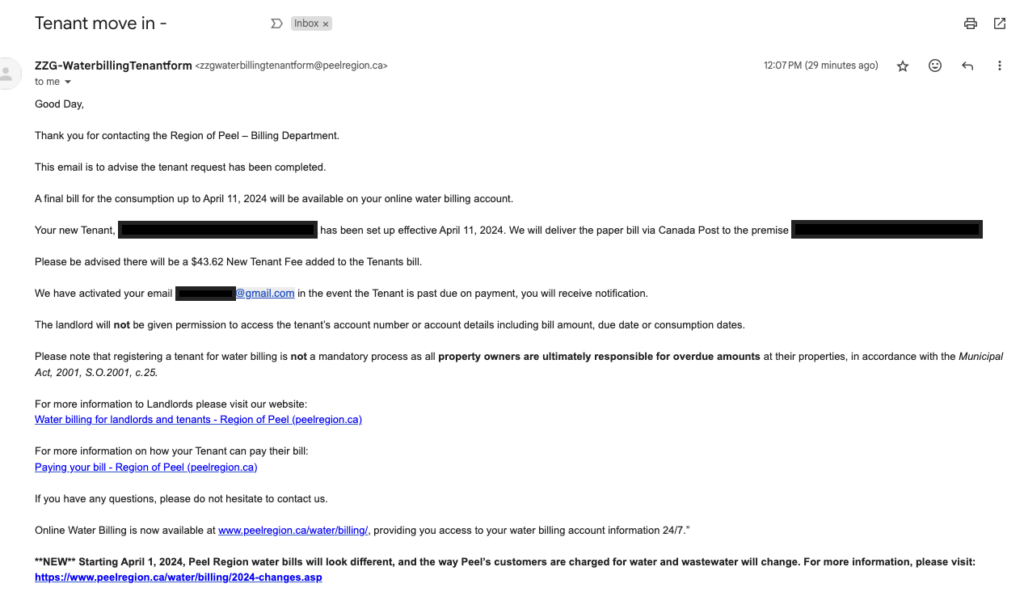
- The landlord will not be given permission to access the tenant’s account number or account details including bill amount, due date or consumption dates.
- Whenever the property goes into arrears, Landlord will receive an electronic copy of the past due notice.
Here are sample email confirmations when accounts are fully setup (April 2024)


Step 4: Communicate Clearly with Your Tenants
Clear communication is key to smooth operations. Inform your tenants about:
- Their responsibilities concerning water billing.
- Whom to contact in case of billing issues or discrepancies.
- Payment methods and due dates.
Step 5: Regularly Check Billing Statements
Whether you opt for direct tenant billing or landlord billing, always check the billing statements for accuracy. Look out for any unusual spikes in usage that might indicate leaks or other issues.
Step 6: Provide Support for Queries and Issues
Make yourself available to assist tenants with any questions or issues they may have with their water bills. Helping them understand their bills or resolving issues can lead to better tenant relations and on-time payments.
Conclusion
Setting up tenants for water billing in Brampton requires a clear understanding of the local regulations, thoughtful planning, and good communication. By following these steps, you can ensure a smooth process that is transparent and fair for all parties involved.
We hope this guide helps you manage your properties more efficiently and with fewer hassles. For more tips on property management and landlord responsibilities, stay tuned to our blog!
Resources
- https://www.peelregion.ca/water/billing/
- To check water bills online signup at https://peelregion.idoxs.ca/billing/Bills.aspx
- https://www.peelregion.ca/water/
